Workshop Uploader Tool
The Basics.
This guide will assume that you already have a mod completed and ready for uploading and therefore will not discuss editing files, textures or what programs are needed. This guide does not assume to be a definitive guide on how to use the tool and is subject to change as we learn more on how it works.
Special thanks to our betatester Mailman653 for this guide!
Step One: Organize your files.
This guide will use a texture mod as an example on how to use the uploader. Please note that the game directories may be different for you depending on the kind of mod you're trying to upload. First we're going to create a folder for our new mod, we're going to call this folder "Late1916Belgium".
Next, we're going to take the file "TheGreatWar_Mod.xml" from the folder CampaignMod. This can be found in the files that the developers have provided.
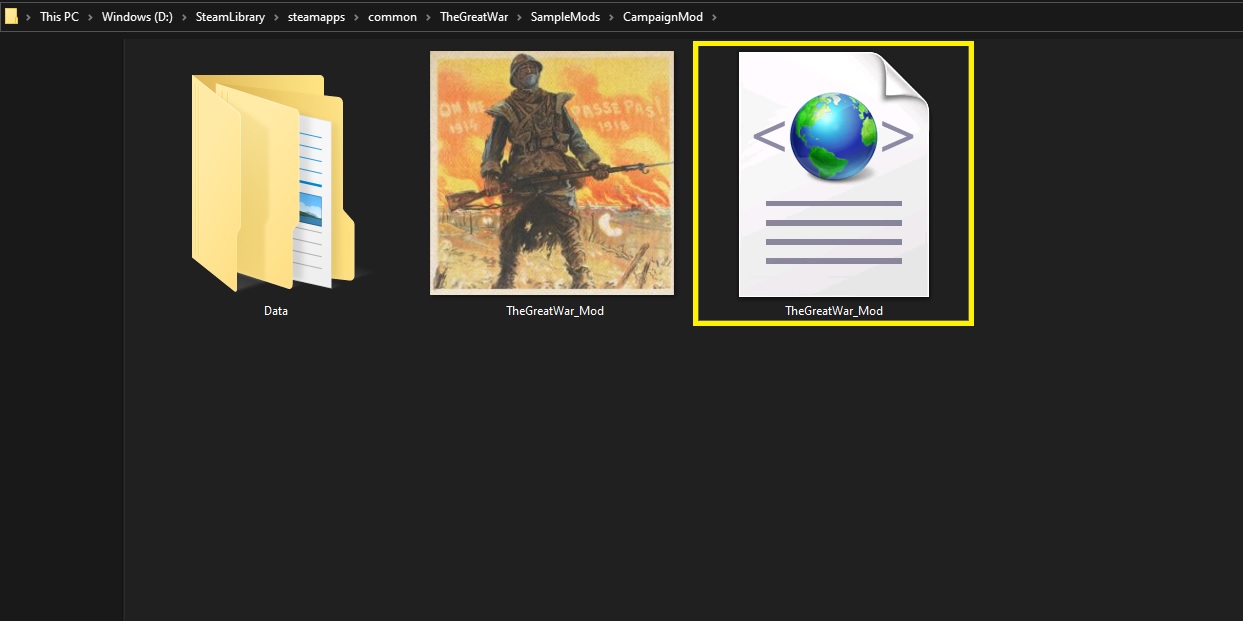
Note: The directory where you files may be found can differ from the image above.
We're going to take this file you will drag and drop onto your newly created folder, "Late1916Belgium". Here, we'll also drop all the files relevant to this mod.

Step Two: Edit the "TheGreatWar_Mod.xml".
Next, we're going to begin to edit the "TheGreatWar_Mod.xml" file. For this, it is recommended use a program such as Notepad++ or other, similar programs. We're going to follow the similar format the developers have used and begin to fill in the data. Take note that there are sections called "LocalizedNames" and "LocalizedDescriptions" if you plan to publish your mod in another language you may have to edit these values accordingly.
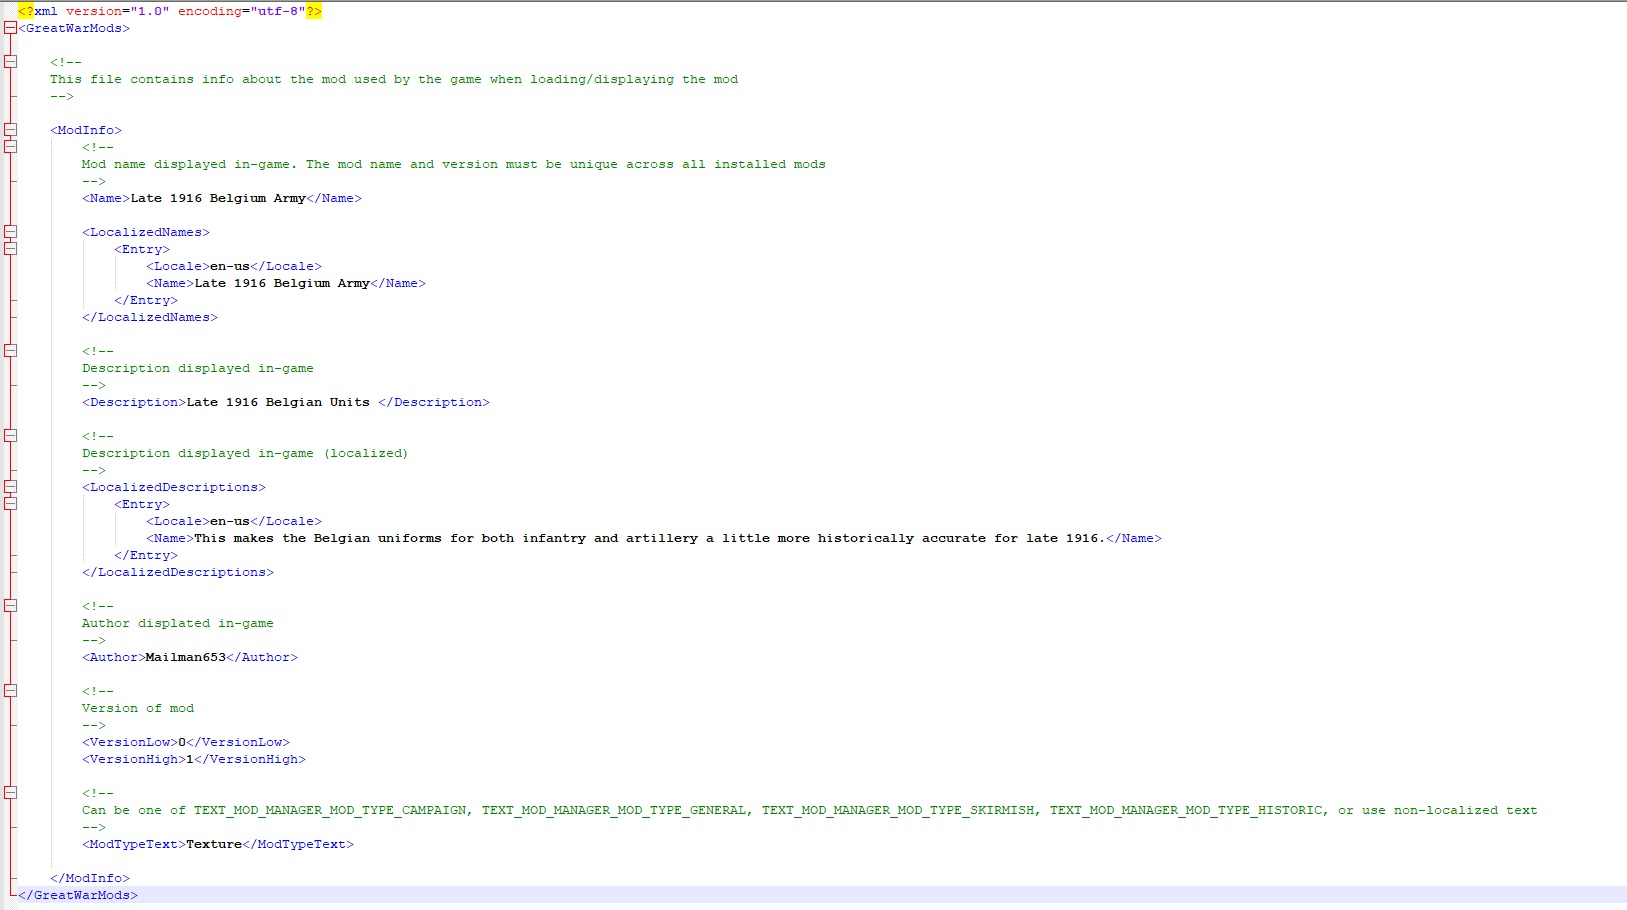
At the time of writing this guide, it's unknown what changes could occur if we edit "Version of Mod", this guide will advise to leave it as is.
Also note, that in the final section, we are given multiple options for the "mod type text", such as "TEXT_MOD_MANAGER_MOD_TYPE_CAMPAIGN,TEXT_MOD_MANAGER_MOD_TYPE_GENERAL, TEXT_MOD_MANAGER_MOD_TYPE_SKIRMISH, TEXT_MOD_MANAGER_MOD_TYPE_HISTORIC, or use non-localized text"
Use what best describes your mod, or in the case of this guide, we used "Texture" to describe our mod. Once the mod is uploaded onto the Workshop, this appears to be how Steam will sort the mods are they are uploaded.
Step Three: Create your images.
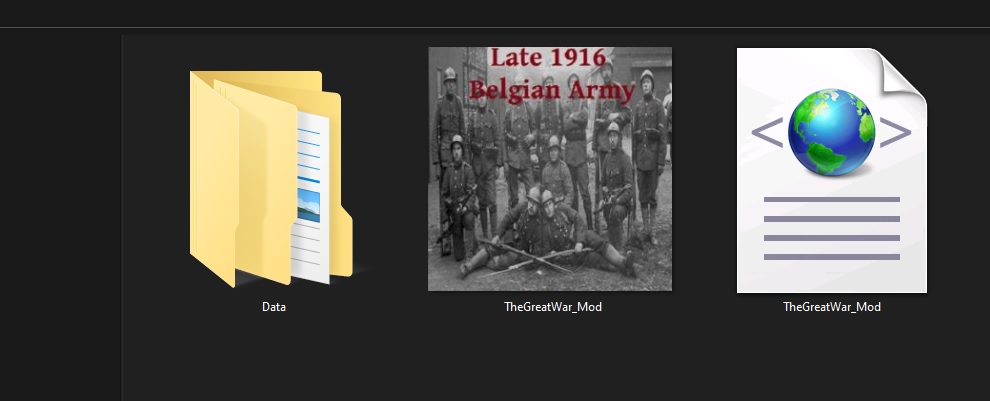
As can be seen in the image above, our folder has a file called "TheGreatWar_Mod", this is the image you will see when you select the mod from the in-game menu. This file is saved in JPEG format at 600x600. You might be able to use other sizes but to try and minimize things going wrong, we'll use the same dimensions found in the developers mod image, which is 600x600.
Other image files you'll want to keep saved somewhere (e.g. your desktop) are the screenshots you will upload with your mod. This guide won't really discuss this part further as its a function of Steam itself, and not the uploader tool.
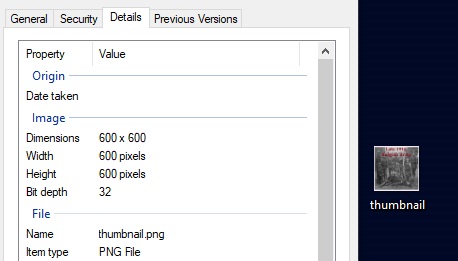
Lastly, you will need the image file you will use with the uploader. This file is important as it is the file that Steam will use in your Workshop listing. This guide recommends that you name you name your file "thumbnail", at 600x600 and as a PNG file. The uploader is very particular about this file and while the above is recommended, the uploader might accept different file sizes and file names, the provided data will minimize any errors you may have in the upload process.
Step Four: Using the tool for the first time.
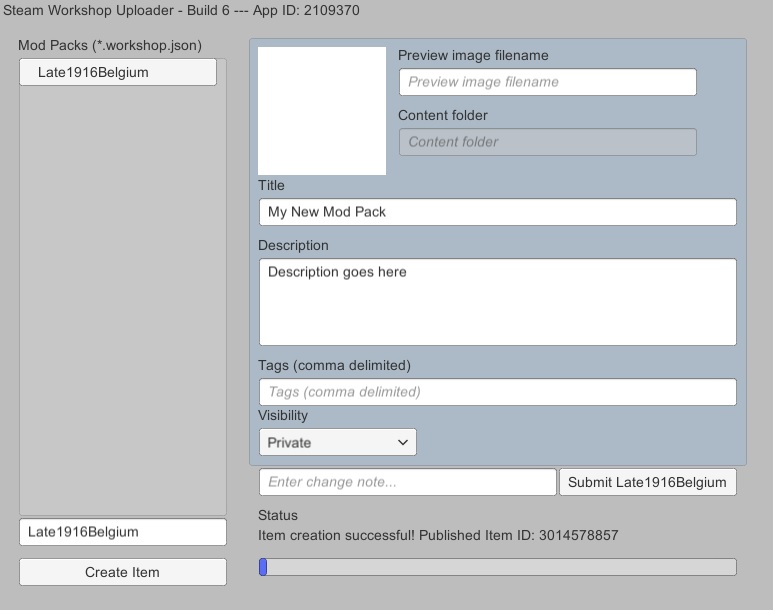
Now that we have our files ready, we're ready to start using the tool. We will navigate to where we have the game installed and then go to ModTools/WorkshopUploader and then open the file, "uploader". In the box "Enter item name...", we're going to place the name of the mod, "Late1916Belgium", then click "Create item". The tool will then generate the following:
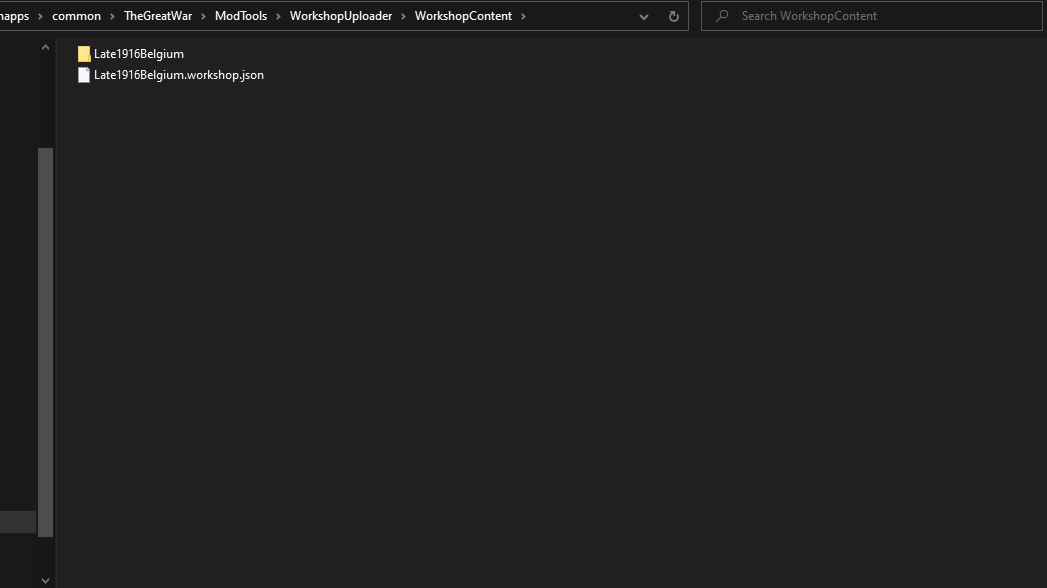
As can be seen, we now have several other items to fill out but we will get to those in another step. For now, close the tool and in the game directory, we're now going to click on the "WorkshopContent".
As we can see, the tool as created new items. An empty folder with the name of our mod along with a called "Late1916Belgium.workshop.json". This file is the file that the tool will ultimately populate with the data we will fill in the next step. This data will be utilized by Steam itself to sort and categorize the mod we will be uploading.
Please note, it's highly recommended that once we complete the uploading process, that we remove the files from the "WorkshopContent" folder and save the files in another location. If you decide to upload another mod and keep the files from a previous mod saved in this folder, the tool will not differentiate between the old mod files and the new mod files and include all the files as part of the upload onto Steam.
Step Five: Using the tool for the second time.
Your files should now be in their proper directories. As mentioned earlier in this guide, depending on what files you are modifying, the directories in your mod folder(s) can vary.
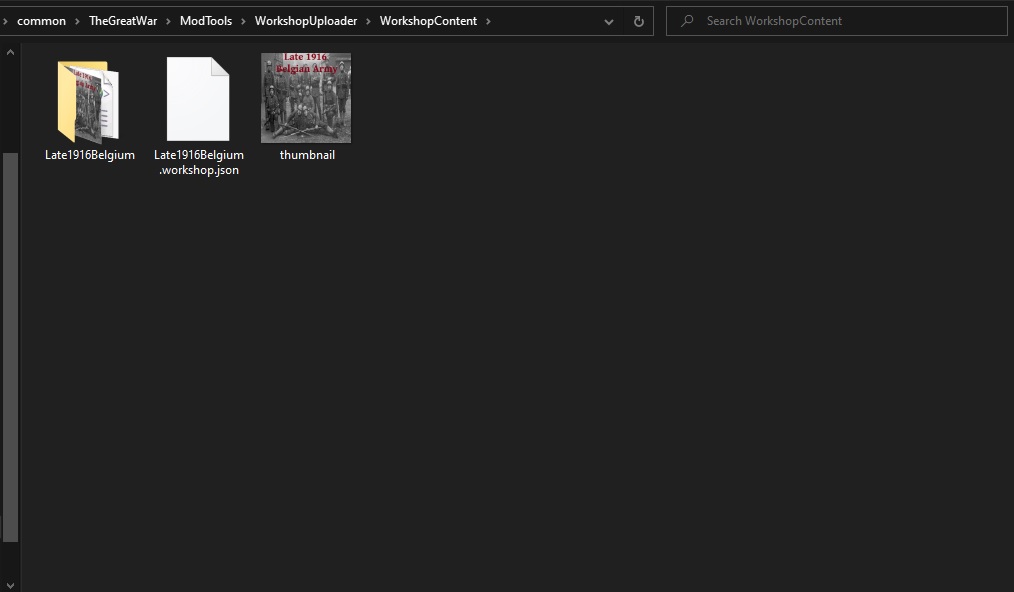
As we can see in the image above, we have our mod files, the json file that the uploader creates and the image file "thumbnail" that we created in an earlier step. Now we are ready to open the uploader for the second, and final time.
We are going to proceed to fill out all the boxes the tool now presents us with. Do note that if you navigate away from the tool and open another window, all the data will be cleared and you will have to fill it out again. If you need to make some changes after you upload the mod onto the Workshop, there are some things that Steam will let you change, such as the name of your mod "Title" or the data filled in the "Description" box. It is very important that you know exactly what "Tags" you want to use with your mod, these are the tags that Steam uses to categorize your mod. These tags cannot be changed once you upload your mod, so make sure they describe your mod as accurately as possible and without typographical errors. We can see a box titled "Visibility" here, it will let you upload the file to the Public, Friends or Private. This can be changed once the mod is on Steam, so do not worry if you set your mod to Private by accident. The final box has a space for "Enter change note..." this box is useful if you're updating your mod to a new version and you want to leave notes for what's changing. This can also be done once the mod is on the Workshop, so if you forget this step, you can fix it later.
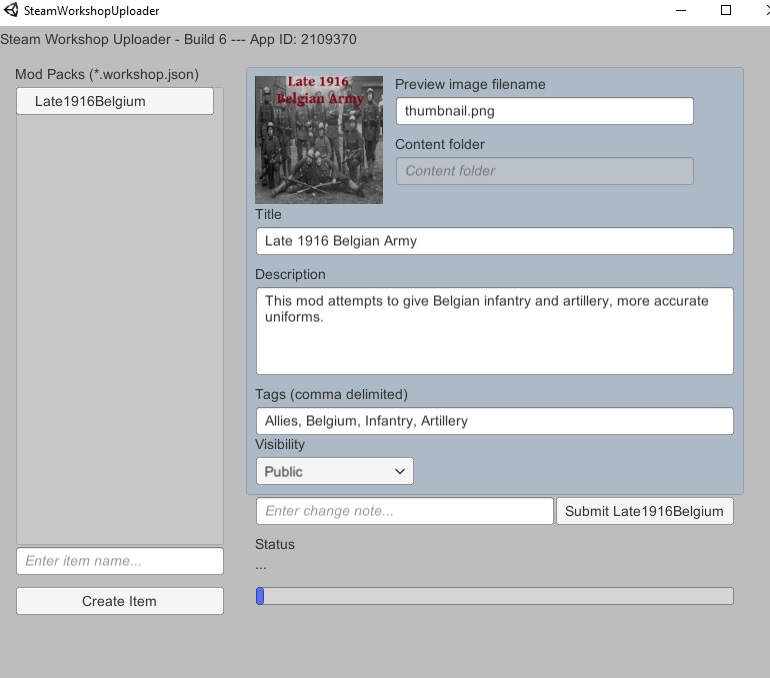
Once everything is ready, click on the box "Submit (name of your mod". The tool will begin to work uploading the mod onto the Workshop.
If successful, you will get the following prompt:
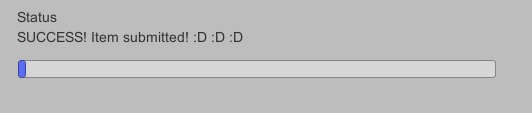
As alluded to earlier, once the mod is on Steam and in the Workshop, you can make certain changes and upload screenshots of your mod. This guide will not cover those steps.
Congratulations, you have now upload your mod onto the Workshop.##